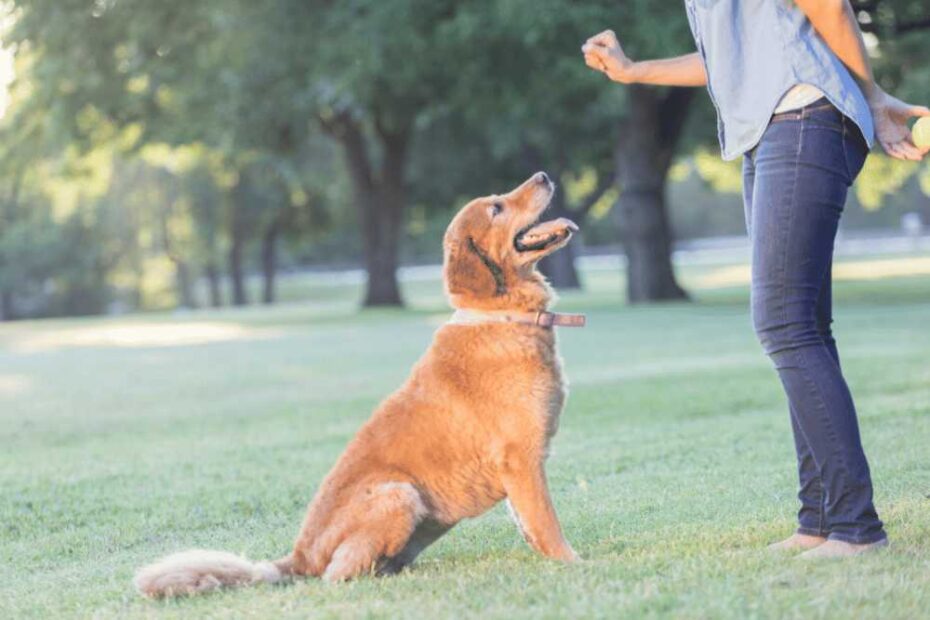
Teaching your dog hand signals can provide numerous benefits, including improved communication and connection between you and your dog. While vocal commands are unquestionably useful, including hand signals in your dog’s training repertoire can improve both the clarity and variety of your communication. Hand signals can serve as a universal language that transcends language borders, making it easier to explain your expectations in a variety of settings. Furthermore, hand signals can be especially beneficial in noisy or busy circumstances, ensuring that your dog understands and listens to your commands even when their ability to hear verbal instructions is impaired. Individuals with hearing problems can also benefit from this nonverbal mode of communication, allowing them to train and engage effectively with their canine companions. Incorporating hand signals into your training regimen may be a highly beneficial undertaking, whether it’s for obedience, safety, or simply improving the link between you and your dog.
- Sit: Teaching a dog the “sit” hand gesture is a simple yet effective training method. Begin by working with your dog in a quiet, distraction-free setting. Hold a reward in your hand and then lift your hand, palm up, above and slightly behind your dog’s head, while saying “sit” in a clear, consistent voice. Gently direct your dog’s nose higher with the treat as you lift your hand, which will naturally urge them to sit. When your dog sits and cooperates, immediately reward them with a treat and verbal praise. To assist your dog in associating the hand signal with the “sit” command, perform this activity on a regular basis.
- Down: Teaching a dog the “down” hand gesture can be a very beneficial addition to their training repertoire. To begin, have your dog sit in a quiet, distraction-free location. Hold a treat in your hand, then lower your hand to the ground with your palm facing downward while saying “down” in a clear and steady tone. Guide your dog’s snout and front legs toward the floor, encouraging them to lie down. When your dog successfully achieves the down position, immediately reward them with a treat and verbal praise. It’s important to do this on a frequent basis to ensure that your dog recognizes the hand signal with the “down” command.
- Come: Begin by placing your dog in a secure, contained space to teach them the “come” command hand signal. Hold your hand out, palm up, and make a clear and distinct gesture, such as a beckoning motion, while saying “come” enthusiastically. When your dog responds and approaches you, lavish them with praise and treats. Repeat this practice on a regular basis, increasing the distance between you and your dog gradually. Your dog will eventually associate the hand gesture with coming to you, making the “come” command an effective and dependable way to summon them.
- Place: Begin by identifying a specific spot or piece of furniture where you want your dog to settle before teaching them the “place” command hand gesture. Put a treat or a favorite toy there, then point to it while saying “place” consistently and clearly. When your dog visits the appropriate area, give them a reward and provide positive reinforcement with praise. Maintain this routine on a regular basis to ensure that your dog associates the hand signal with the “place” command. Your pet will eventually learn to respond to the hand signal and remain in the designated area when given the cue.
It is important to keep in mind that teaching your dog hand signals requires time and patience. It is also essential to be consistent and practice frequently. It’s also a good idea to practice these hand signals in a variety of settings so your dog may learn to respond to them in any situation. Your dog will be able to understand and respond to these hand signals with a little time and patience, improving communication between the two of you.
You can find a visual of some hand signs here.